Guide | Operation Client Diversity: Migrate Prysm to Teku
Step by step guide on how to switch for the solo home or cloud staker.
⏩ Complete step by step guide
As per best practices, always try everything on a testnet before doing it for real on mainnet.
🔥 Problem: Why the commotion?
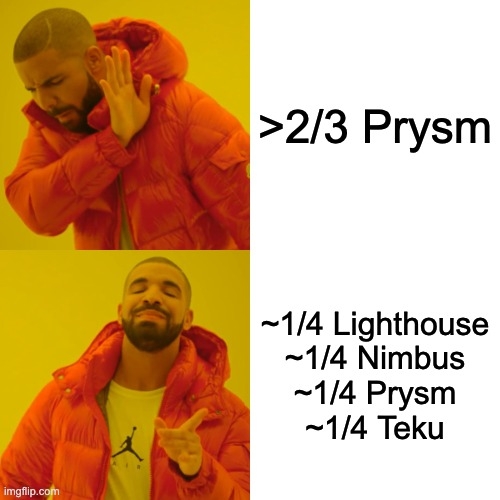
If improving the stability of the beacon chain is not a good enough reason for you to switch from Prysm to either Teku or Nimbus, you also need to consider that due to the design of the beacon chain you will be subject to severe financial penalties if Prysm ever has an issue. ~Lamboshi on Twitter

🚀 Solution: Increase client diversity by migrating to Teku

🚧 How to Migrate from Prysm to Teku
⛓️ 1. Setup Teku CL
Install git.
Install Java 17 LTS
Verify Java 17+ is installed.
Install and build Teku.
Verify Teku was installed properly by displaying the version.
Copy the Teku binary file to /usr/bin/teku
Setup a directory structure for Teku.
Create your teku.yaml configuration file.
Paste the following configuration into the file.
Replace**
<0x_CHANGE_THIS_TO_MY_ETH_FEE_RECIPIENT_ADDRESS>** with your own Ethereum address that you control. Tips are sent to this address and are immediately spendable, unlike the validator's attestation and block proposal rewards.Replace
<MY_GRAFFITI>with your own graffiti message. However for privacy and opsec reasons, avoid personal information. Optionally, leave it blank by deleting the flag option.
🛑 2. Stop and disable Prysm
Stop and disable the Prysm services. Choose your guide.
Confirm the Prysm validator is stopped by checking the service status.
Delete existing Prysm validators keys so that there's no accidental starting of Prysm's validator.
As a double check, verify that Prysm validator can't find it's keys by starting the validator again.
Observe the logs and check for errors about missing validator keys.
Finally, stop Prysm validator.
Before continuing - Required Waiting Period !!!
Wait until your validator's last attestation is in a finalized epoch - usually about 15 minutes.
By waiting for a finalized epoch, there's no need to migrate the slashing database.
Confirm that your validator has stopped attesting with block explorer beaconcha.in or beaconscan.com
🧱 3. Update firewall / port forwarding.
Allow Teku ports:
Delete Prysm firewall rules:
Verify that your firewall configuration is correct.
Example output of firewall configuration:
Optional - Update your server and reboot for best practice.
🗝️ 4. Import Validator Keys
Copy your validator_keys directory to the data directory we created above and remove the extra deposit_data file. If you no longer have the validator keys on your node, you will need to restore from file backup or restore from secret recovery phrase.
🛑 FINAL WARNING REMINDER !!! Do not start the Teku validator client until you have stopped the Prysm one, or you will get slashed (penalized and exited from the system).
Wait until your validator's last attestation is in a finalized epoch - usually about 15 minutes.
Confirm that your validator has stopped attesting with block explorer beaconcha.in or beaconscan.com
Storing your keystore password in a text file is required so that Teku can decrypt and load your validators automatically.
Replace <my_keystore_password_goes_here> with your keystore password between the single quotation marks and then run the command to save it to validators-password.txt
Confirm that your keystore password is correct.
Move the password file and make it read-only.
Clear the bash history in order to remove traces of keystore password.
Create a corresponding password file for every one of your validators.
Verify that your validator's keystore and validator's passwords are present by checking the following directory.
Add validator-keys configuration to teku.yaml
🚀 5. Setup and start the Teku service
Run the following to create a unit file to define yourbeacon-chain.service configuration.
Move the unit file to /etc/systemd/system
Update file permissions.
Run the following to enable auto-start at boot time and then start your beacon node service.
Check the logs to verify the services are working properly and ensure there are no errors.
Confirm that your new Teku validator has started attesting with block explorer beaconcha.in or beaconscan.com
🛠 Some helpful systemd commands
🗄 Viewing and filtering logs
🔎 View the status of the beacon chain
🔁 Restart the beacon chain
🛑 Stop the beacon chain
📡 6. Update Prometheus and Grafana monitoring
Select your Ethereum execution engine and then re-create your prometheus.yml configuration file to match Teku's metric's settings.
Move it to /etc/prometheus/prometheus.yml
Update file permissions.
Finally, restart the services.
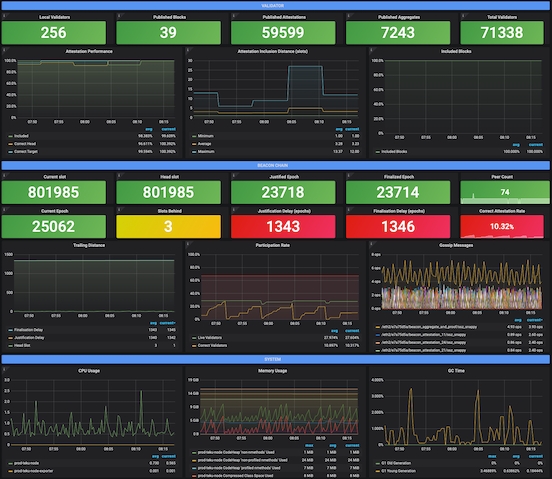
Import your new Teku dashboard into Grafana.
Open http://localhost:3000 or http://<your validator's ip address>:3000 in your local browser.
Login with your credentials
Download and save Teku's Dashboard json file.
Click Create + icon > Import
Add the ETH2 client dashboard via Upload JSON file

Credits: https://grafana.com/grafana/dashboards/13457
🌊 7. Clean up Prysm Storage
After a period of stable attestations on Teku, you can safely dispose of the former Prysm files and reclaim disk space.
Well done on successfully switching! Cheers to client diversity and a healthy beacon chain.
🙏 Alternative Community Migration Guides
https://www.reddit.com/r/ethstaker/comments/pu30fa/short_guide_to_migrate_from_prysm_to_teku_or/